Keeping cool (or cozy) in Queen Creek starts at the window. You might think Shutters are just about looks, but the right window shutters can cut heat, noise, and energy bills. Here’s how to make them work for your home — without getting lost in jargon.
So why do shutters even matter in Queen Creek?
Queen Creek has hot summers and surprisingly cool winter nights. That means your home swings between two extremes — and your windows are the gateway.
Shutters add a physical barrier. They reduce direct sun, slow heat transfer, and trap a thin layer of air that acts like insulation. You know what? They also give you privacy and curb appeal. It’s not all about numbers; comfort matters, too.
How shutters actually insulate (let me explain)
Here’s the thing: insulation isn’t just fluff or R-values on a spec sheet. With shutters, it’s about layers, seals, and the small air gaps that do the heavy lifting.
- Air gap does the work. The tiny pocket of air between your glass and the shutter is a big deal — it slows heat moving in or out.
- Material matters. Different Materials conduct heat differently; some are better barriers.
- Seals and stops are underrated. Weatherstripping around the frame and tight-fitting louvers reduce drafts and radiant heat transfer.
Technically, shutters add to the window’s overall R-value and lower the U-factor. Practically, that means your HVAC runs less, your living room stays more consistent, and bills often drop. Mild contradiction: shutters aren’t a magic blanket — they won’t replace attic insulation — but they’re one of the most visible and effective window-level fixes you can make.
Picking the right shutter material (short and useful)
Let’s keep it simple. Here are common choices homeowners see in Queen Creek, with what they mean for insulation and upkeep.
| Material | Insulation Strength | Best for |
|---|---|---|
| Wood | Medium — natural insulator but can warp if not treated | Historic homes, warm interiors, high-end look |
| Polymers / Faux Wood | High — resists moisture and has good thermal characteristics | Hot climates, low maintenance, budget-friendly |
| Aluminum / Metal | Low to Medium — thin but often used for exterior storm shutters | Storm protection, modern look, durable |
Polymers often win in desert climates because they resist humidity swings and don’t swell. Wood has charm and decent thermal properties but asks for maintenance. Aluminum is tough but not the best thermal blocker unless combined with insulated panels.
Installation & sealing tips (pro tricks, explained casually)
Here’s where most savings hide — not in the fancy slats, but in how shutters fit the frame.
- Measure twice, install once. Sounds trite, but even small gaps (1/8″) let a lot of heat sneak through.
- Seal the gaps. Use silicone caulk on exterior frames; use low-profile weatherstripping inside. Foam tape works for temporary fixes.
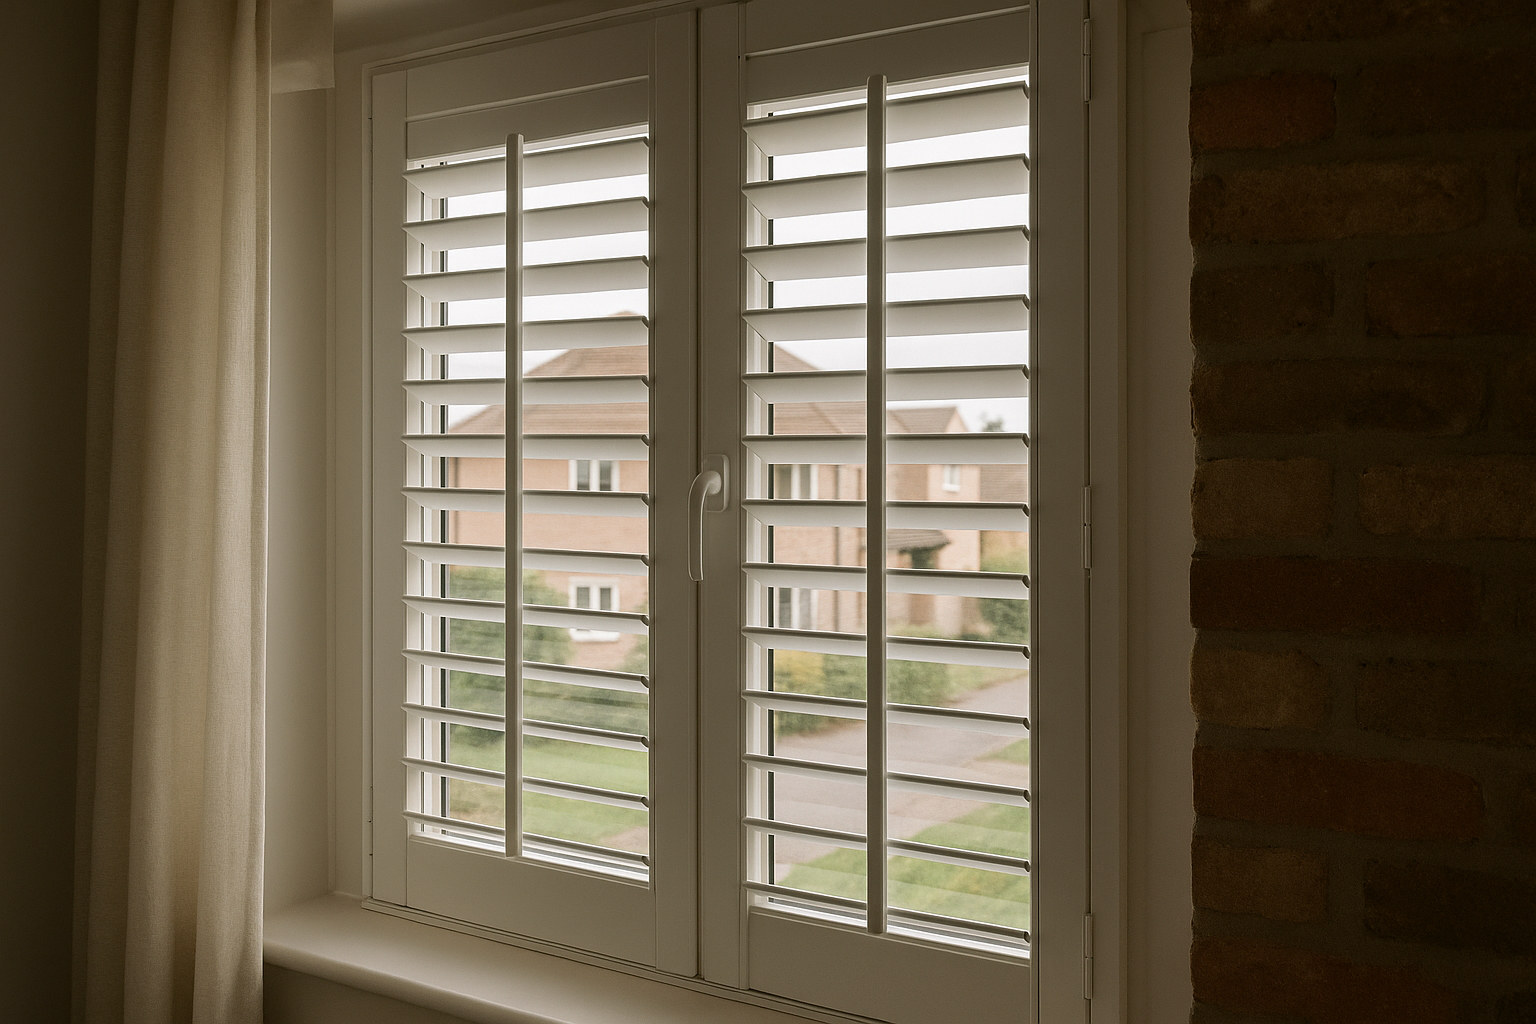
- Consider split tilt and full height. Interior plantation shutters that close tight to the sash block more heat than loose-fit exterior panels.
- Use a thermal break. For metal frames, ask for a thermal break to reduce conduction — think of it as a tiny barrier that stops heat from traveling straight through.
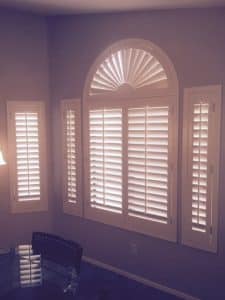
You can try basic sealing yourself with a caulk gun and a roll of self-adhesive weatherstripping (3M makes good tapes). But for precise fits — especially on arched windows or custom openings — bring in pros.
Operation tips: when to open, when to shut — seasonally savvy
Operation matters nearly as much as the shutters themselves. Timing is everything.
- Summer days: Close shutters mid-morning to afternoon to block direct sun. Open in the evening to let cooler air in.
- Winter nights: Close shutters at dusk to trap heat inside; open during sunny winter afternoons to soak up passive solar gain.
- Monsoon and storm season: Close sturdy exterior shutters to protect windows from debris and reduce drafts.
You’d be surprised how much a tiny habit — shutting shutters at 10 a.m. when the sun hits — can save. Plus, motorized options from brands like Lutron or Somfy let you automate schedules. Convenience plus efficiency. Nice.
Small tweaks that make a big difference (DIY-friendly)
You don’t have to replace every window to see improvement. Try these inexpensive moves first.
- Add interior stop strips to reduce light bleed and airflow.
- Install magnetic seals for a nearly airtight fit on interior shutters.
- Use blackout liners behind shutters on east and west windows to reduce radiant heat.
- Paint exterior shutters with reflective colors — lighter shades reflect more solar energy (think of your roof tricks; same idea).
These are cheap, fast, and often reversible. Honestly, they’re the kind of weekend projects that pay you back within a year.
Maintenance that keeps insulation working (don’t skip this)
Shutters are low-maintenance, but neglect reduces performance.
- Clean louvers regularly. Dust holds heat and reduces reflective properties.
- Check seals yearly. Replace worn weatherstripping before monsoon season.
- Tighten hardware. Loose hinges can shift panels and create gaps.
- Touch up finishes. Exterior finishes protect against UV; failing finishes mean warping or cracking later.
Maintenance keeps the seal and the look — both matter for insulation and for resale value.
Retrofits and add-ons (if you want extra oomph)
If your windows are old or single-pane, pairing shutters with these add-ons multiplies benefits.
- Interior storm panels: Clear acrylic panels mounted behind shutter add a layer of protection and insulation for winter nights.
- Low-e films: Applied to glass, they cut radiant heat while letting light through. Works well behind shutters.
- Cellular shades + shutters: Sounds redundant, but cellular shades trap air, and shutters block radiation — together they’re very efficient.
If you’re doing a larger window upgrade, talk to your installer about combined solutions. It’s like layering clothes — a shirt, sweater, coat — each layer adds protection.
Costs, savings, and local rebates (let’s talk numbers)
How much will you actually save? It depends on your home, but here’s the reality: the right shutters can reduce cooling-related energy use noticeably. Energy bills in Queen Creek spike in summer. By cutting solar heat gain and reducing HVAC run time, shutters often pay back a portion of their cost over several years.
Also, check with local utilities — companies like Salt River Project (SRP) or Arizona Public Service (APS) sometimes offer energy-efficiency rebates or incentives for window upgrades or energy audits. It’s worth a call — you might save on both installation and long-term bills.
When to DIY — and when to call Arizona Window Shutters
DIY is great for basic sealing, weatherstripping, and small adjustments. But call professionals when:
- You have custom shapes (arches, circles)
- You want integrated motorized systems
- You need exterior storm shutters installed safely
- You want warranty-backed Products and accurate R-value claims
We handle measurements, permits if required, and full installs — and we’re based right here in Queen Creek, so we know the climate and common home styles.
Whether you’re refreshing a single room or planning whole-house comfort upgrades, remember: shutters are more than decoration. They’re part of your home’s thermal armor. They reduce glare, dampen noise, and make the house feel more like a refuge from the desert heat. Small acts — sealing one window, choosing a polymer shutter for the sunniest side — add up.
If you want hands-on advice, local experience, and a reliable installation team, get in touch with Arizona Window Shutters. Call us at 480-470-5641 or Request a Free Quote — we’ll come out, measure, and show you options that fit your home and budget, no pressure.